Image Insights Engine Inputs
- instruction: optional. A string used to prompt the Agent during job execution.
- image: required. The image to extract from.
- model: required. The model to use for extraction.
- output_schema: optional. Defines the exact structure of the JSON output that the extracted data will populate. Follows the standard JSON schema specification.
Image Insights Output
The output will always be a JSON value of the structure specified in the output_schema (if you defined it).Image Insights Example
Let’s run through an example using this engine together.Create an Agent
Click on the “Add Agent” button in the
top right corner of the Agents page.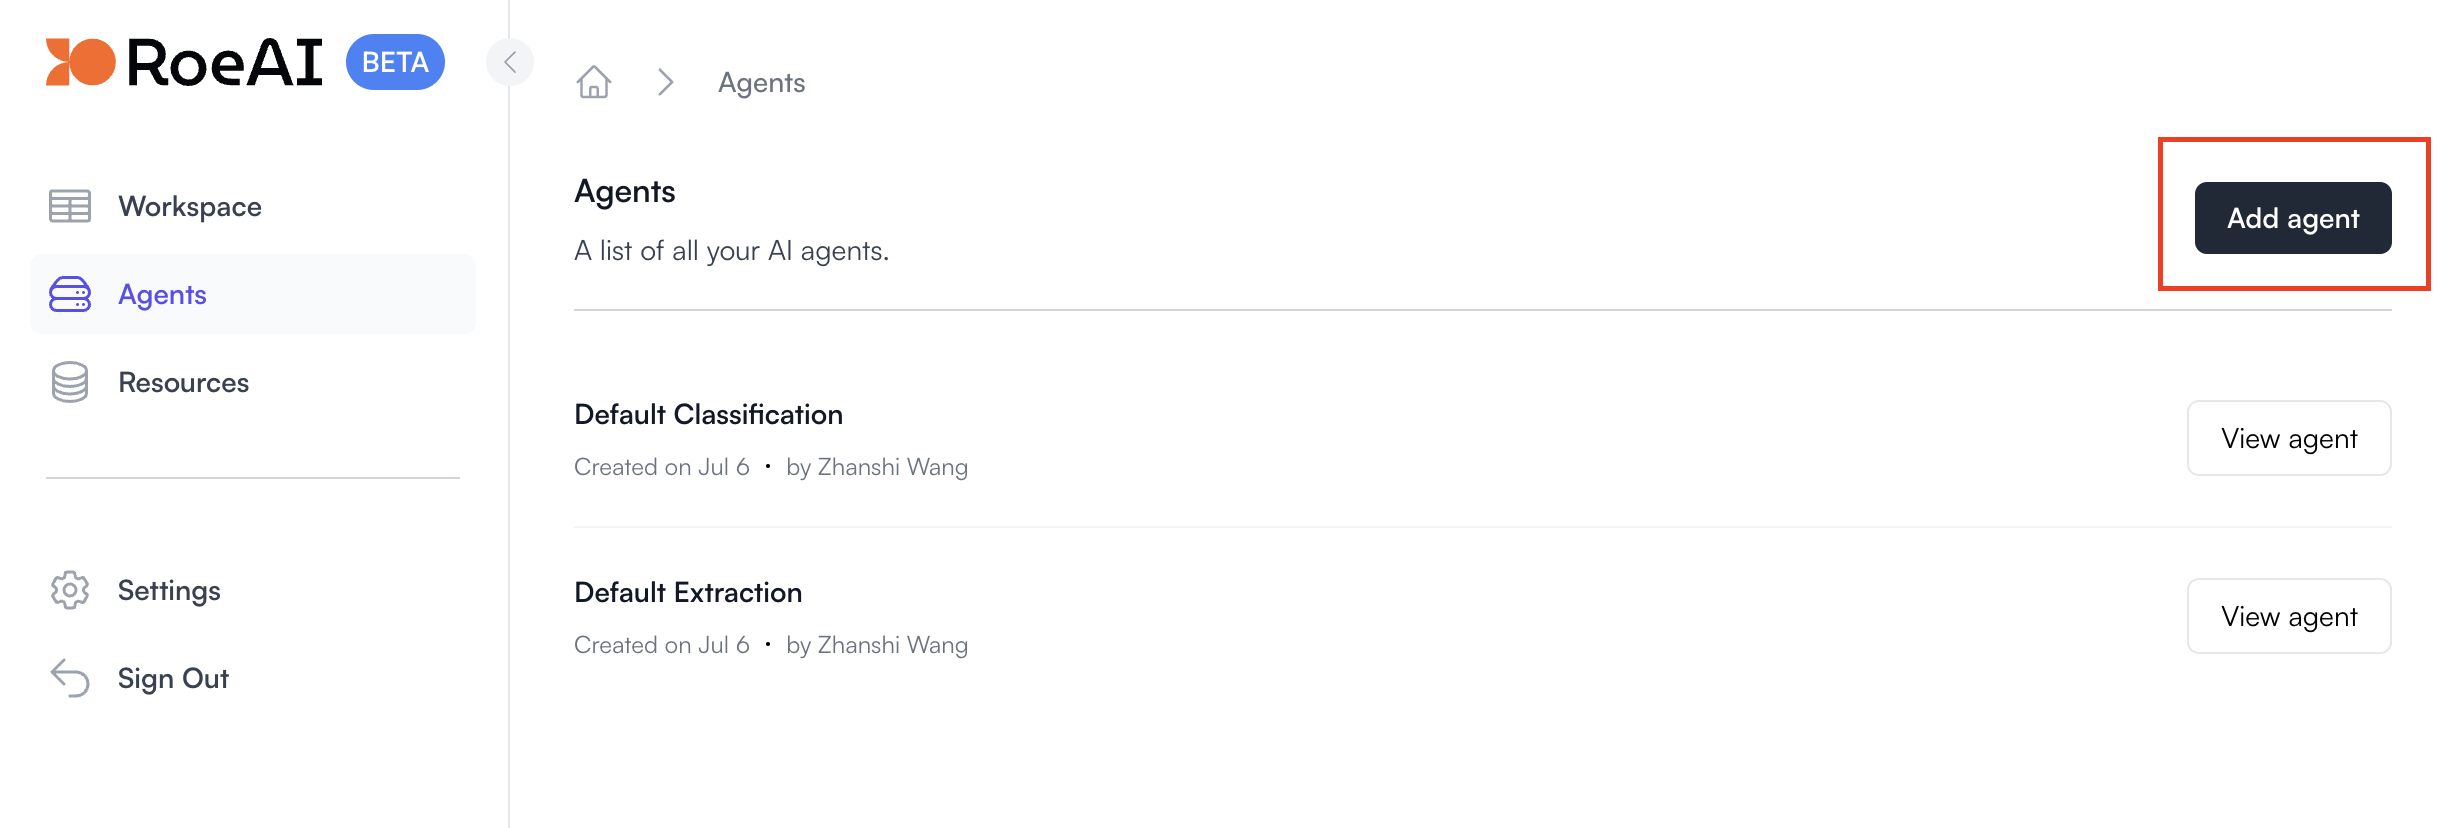
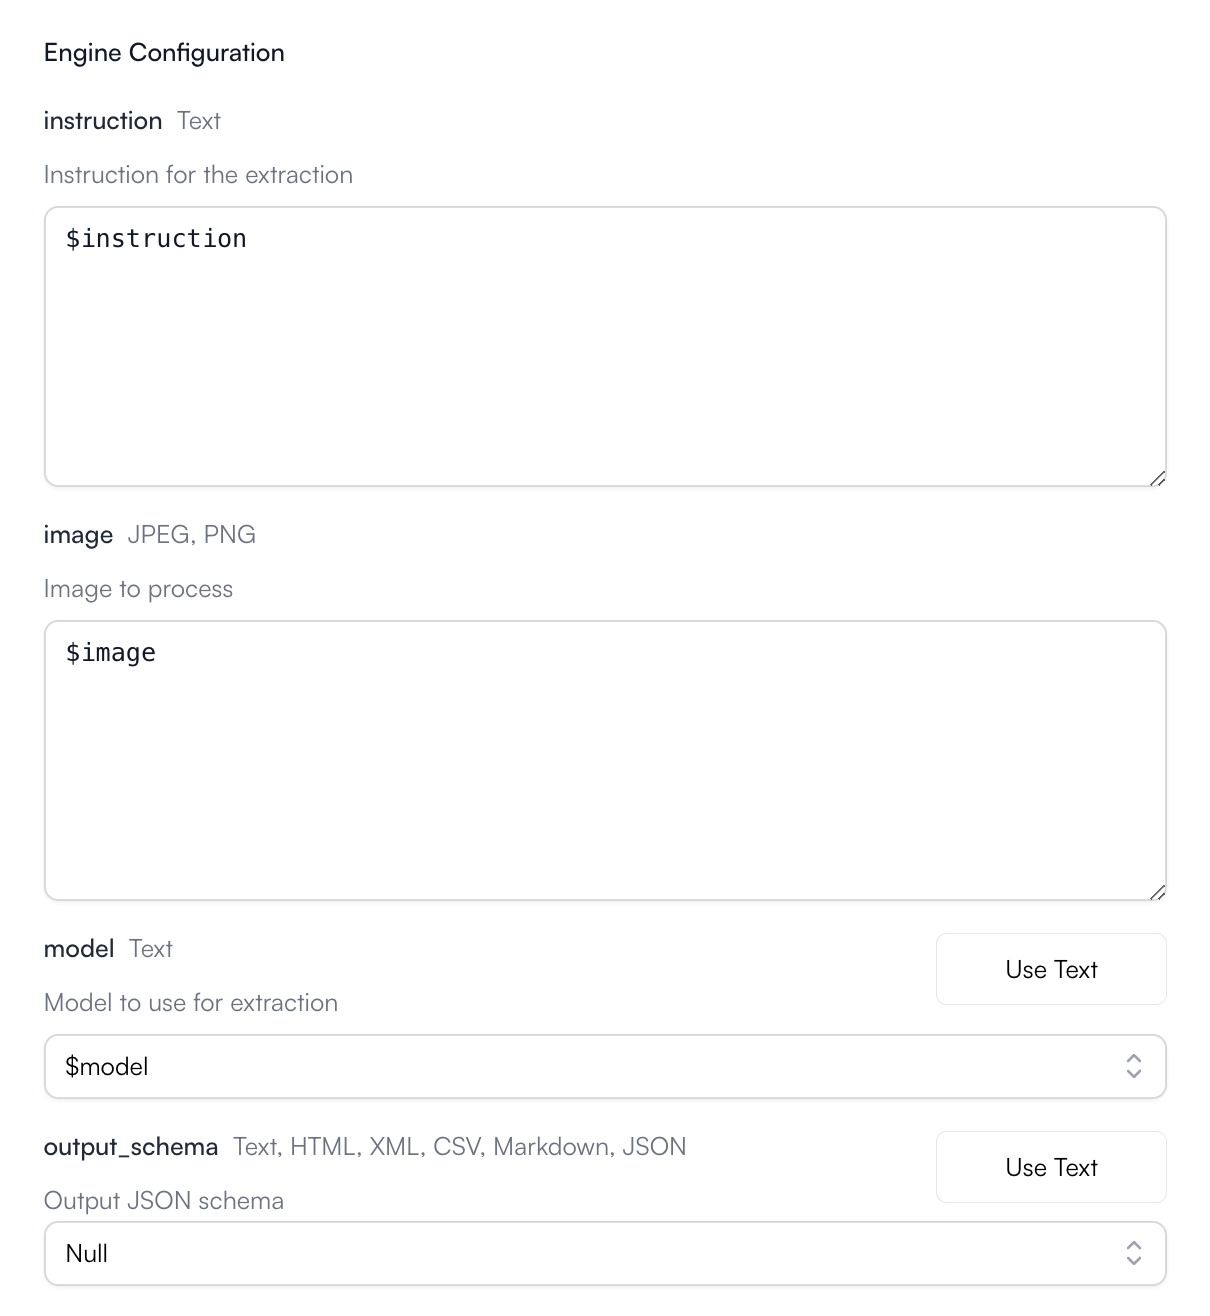
Configure the engine as follows
$ starts a template string
- instruction: $instruction
- image: $image
- model: $model
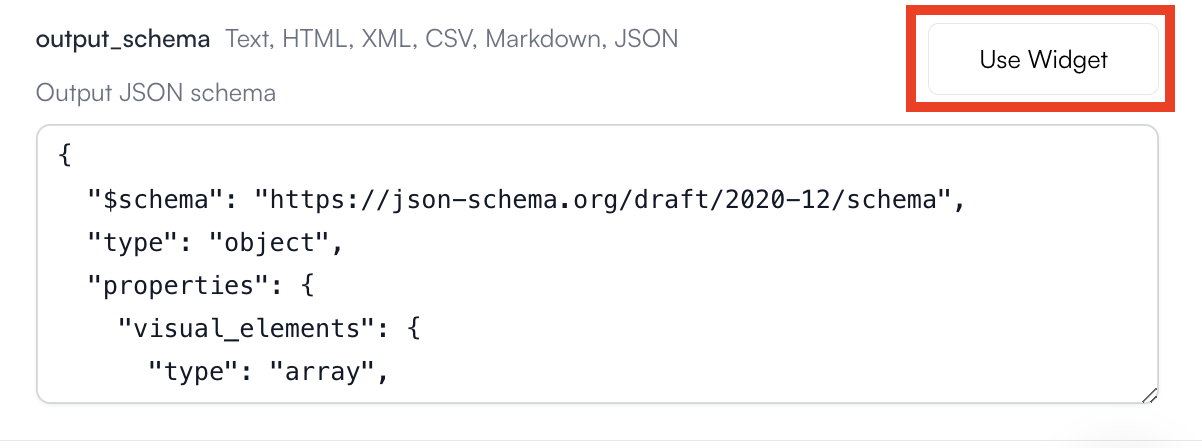
- output_schema: Copy and paste the JSON schema below (hit Use Text).
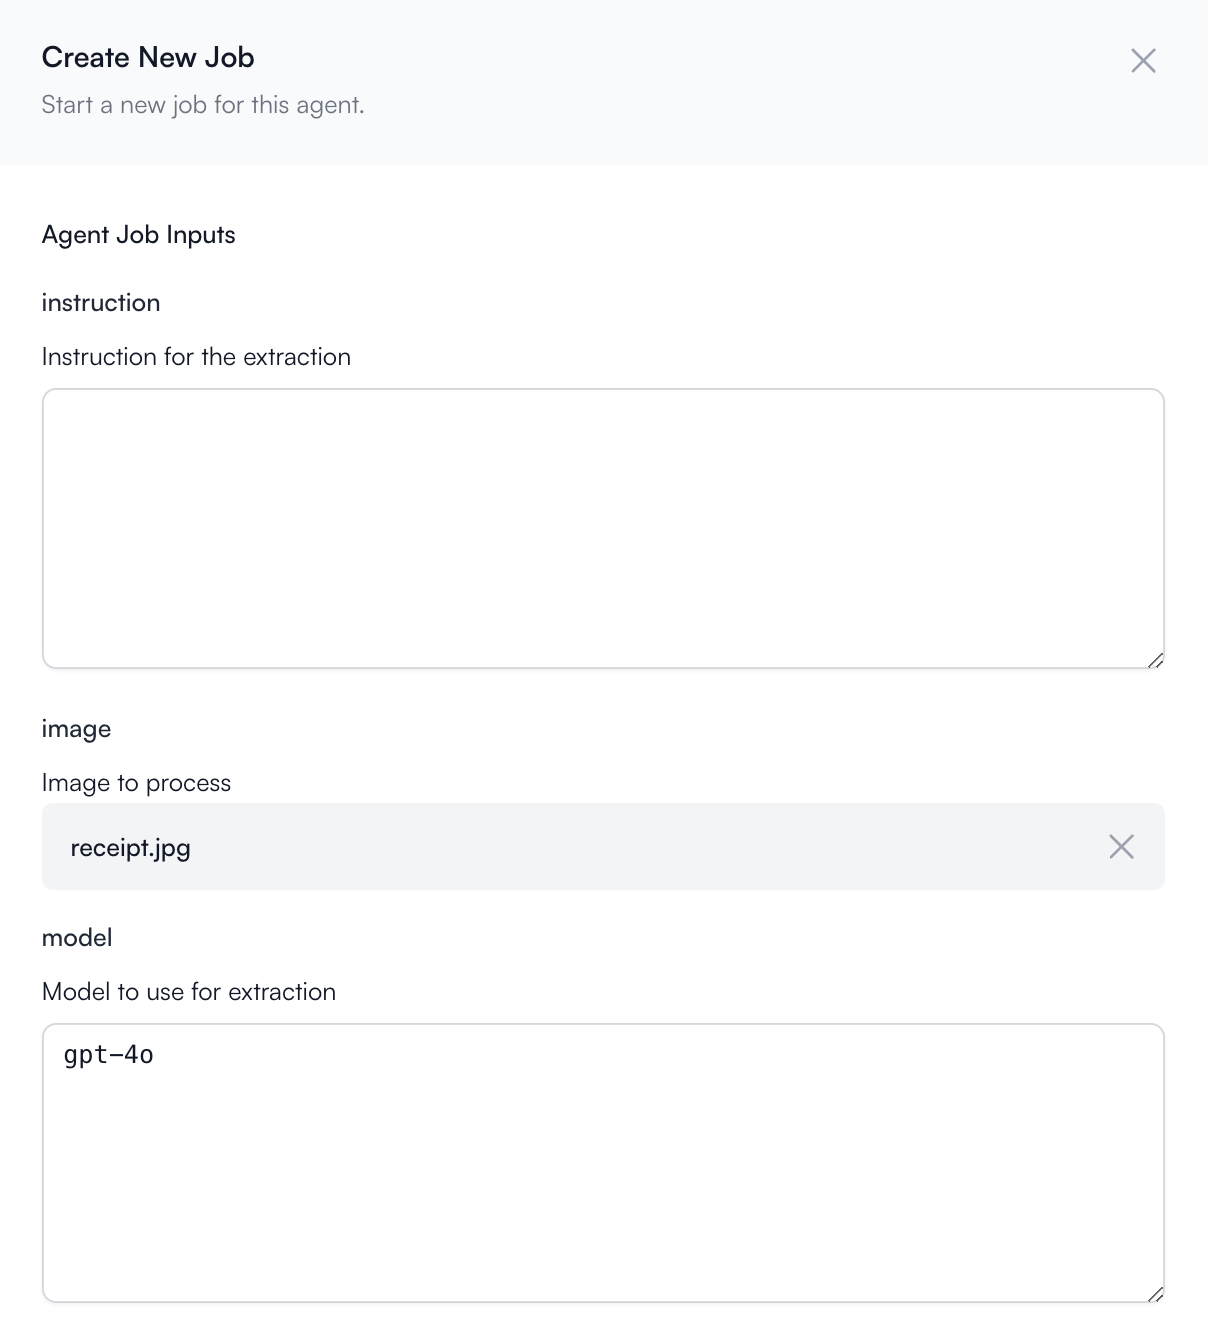
Fill in the Agent inputs
Leave instruction empty.image: Download and use this image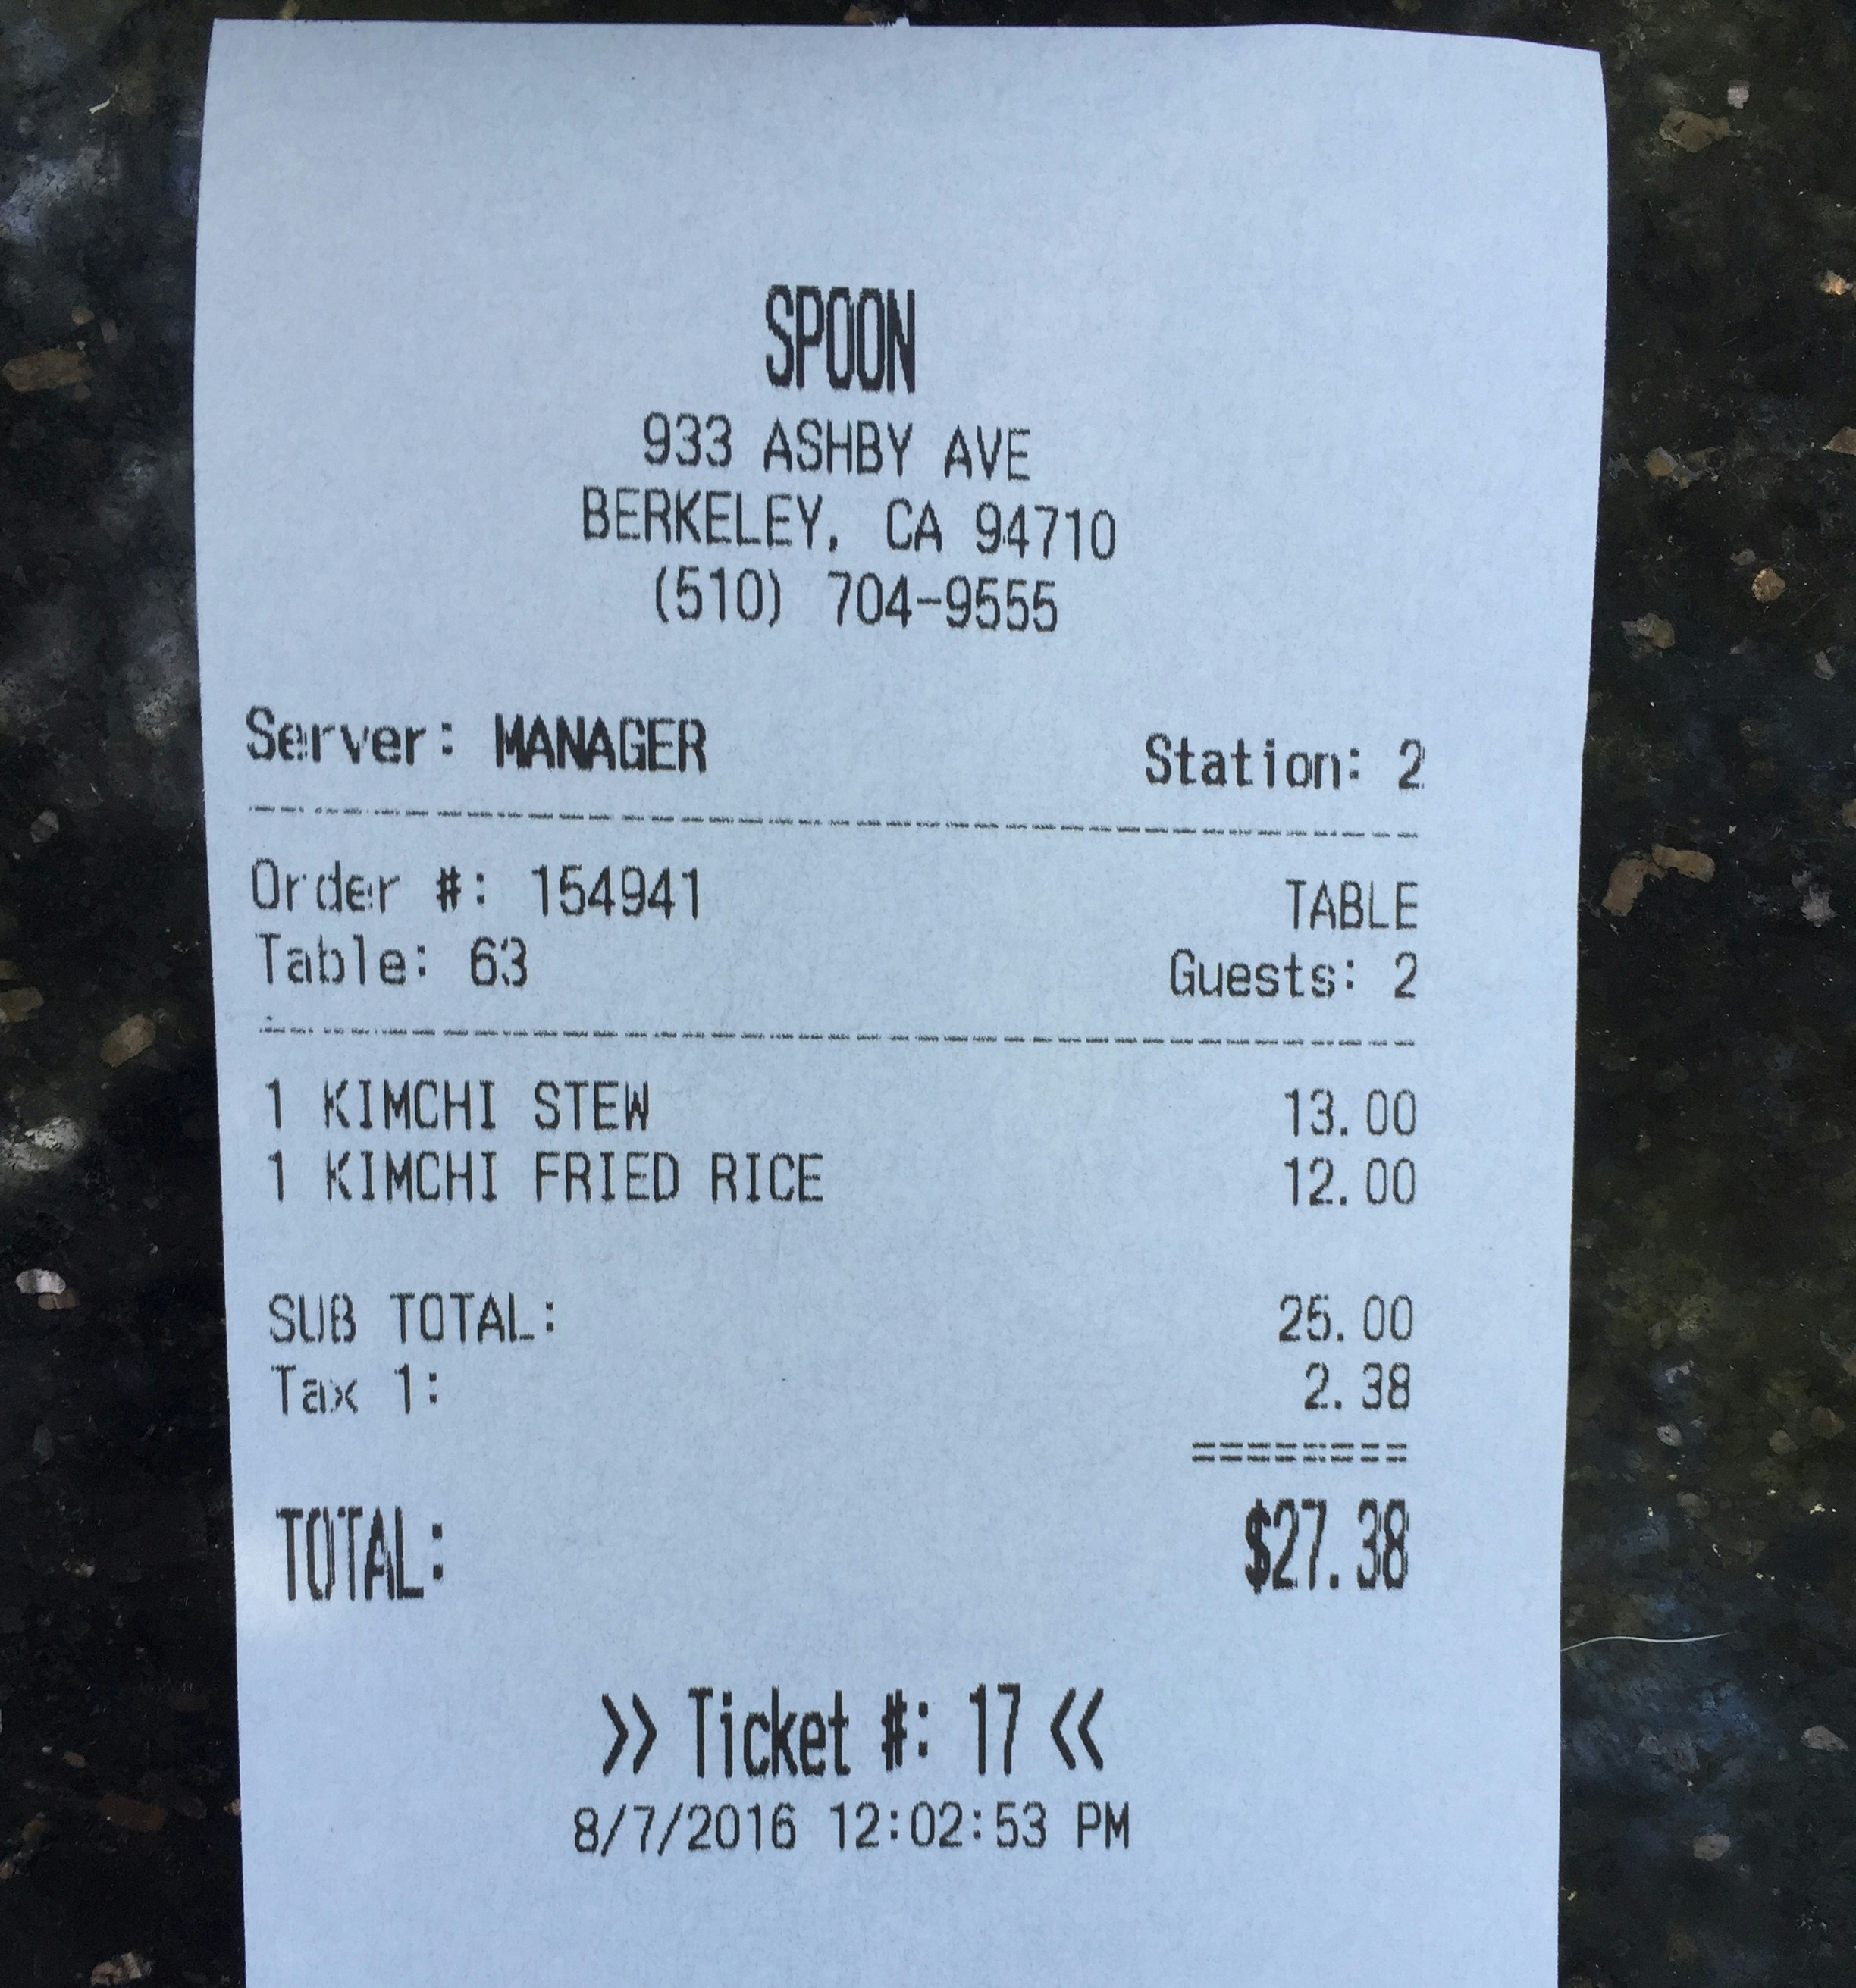
Sometimes, you need to experiment with the output_schema configuration and the prompts you pass in to the instruction to get the results you want.
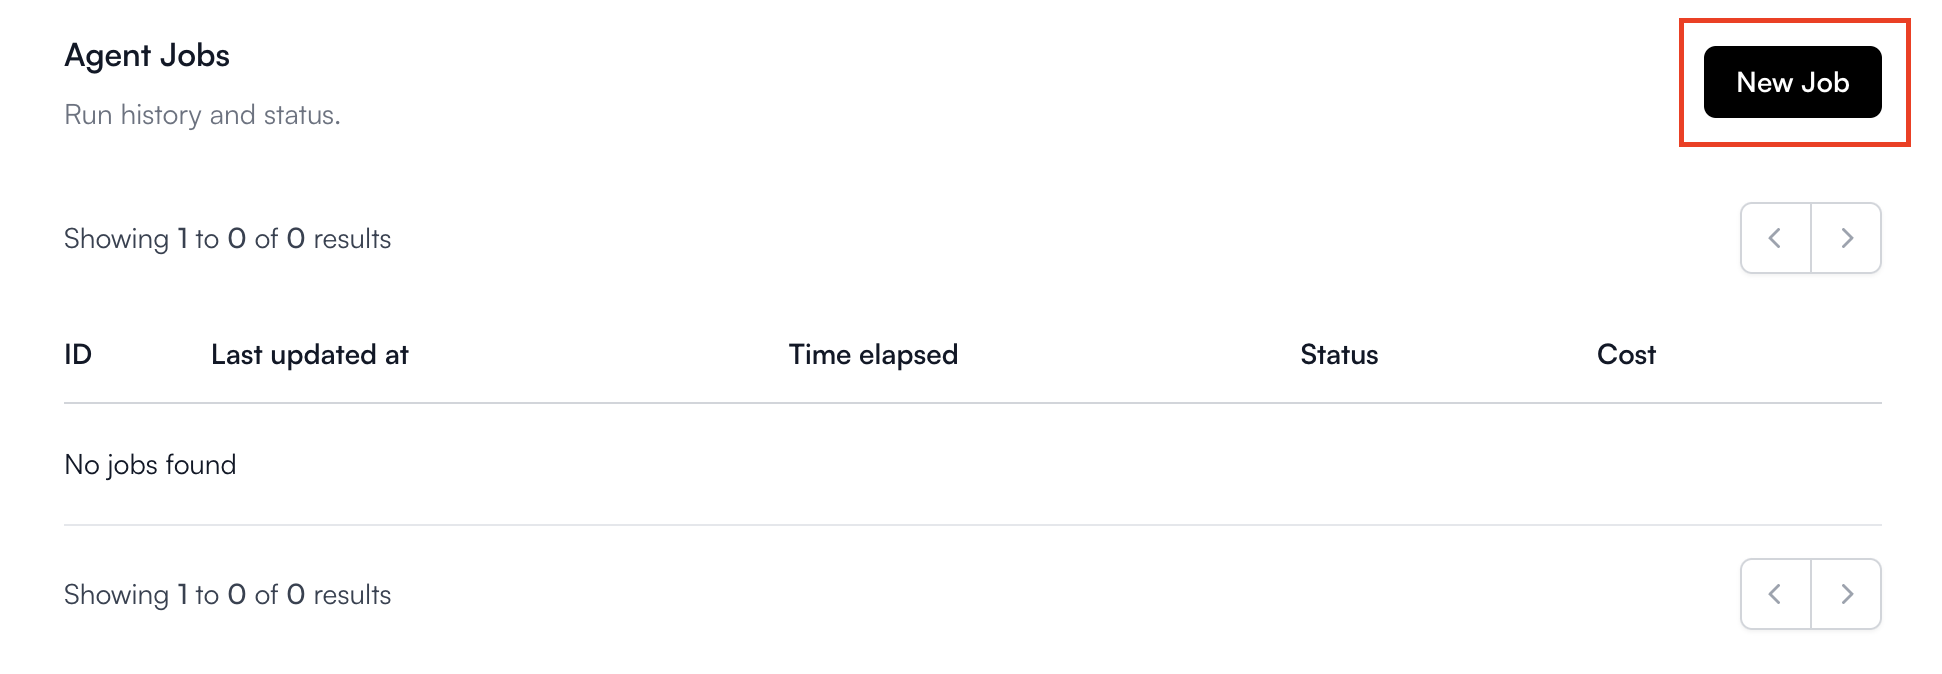
View the Results
Click View of the respective job to view its status and results.
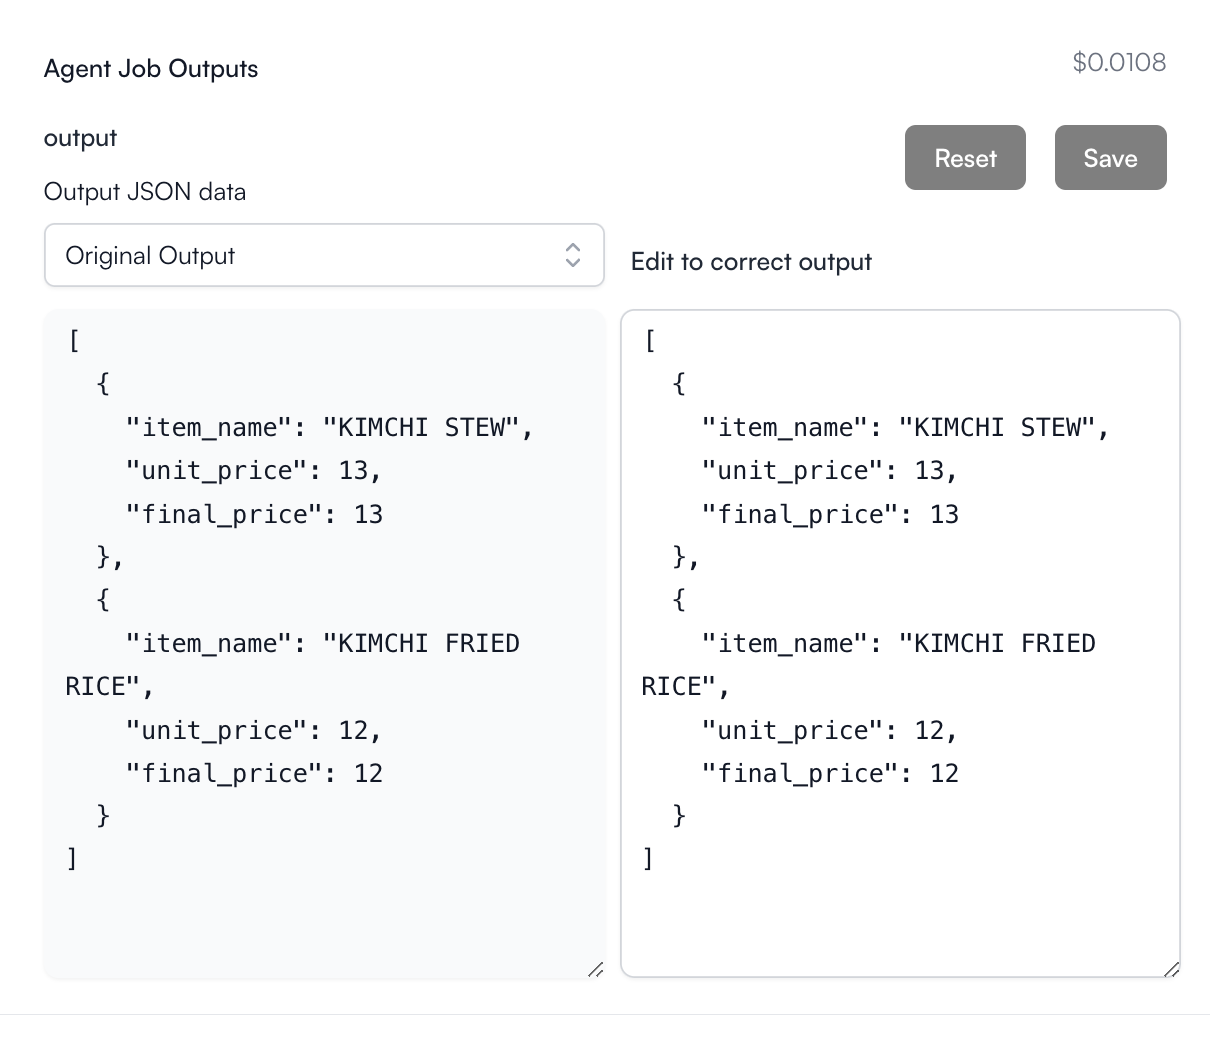
Notice that the JSON output will be in the structure that you defined in the output_schema. In our case, we defined our output to be a JSON Object with certain properties to be filled in by the Agent.