> ## Documentation Index
> Fetch the complete documentation index at: https://docs.roe-ai.com/llms.txt
> Use this file to discover all available pages before exploring further.
# Quickstart
> Build your first Roe Agent in under 5 minutes
## Build an Image Extraction Agent
Each Roe Agent uses an Engine that defines which tasks this agent will tackle.
Our built-in [Engines](/agents/engines/introduction) are optimized for their
respective functions. In this example, we will use our
[Image Extraction Engine](/agents/engines/multimodal-extraction) to extract data from
images.
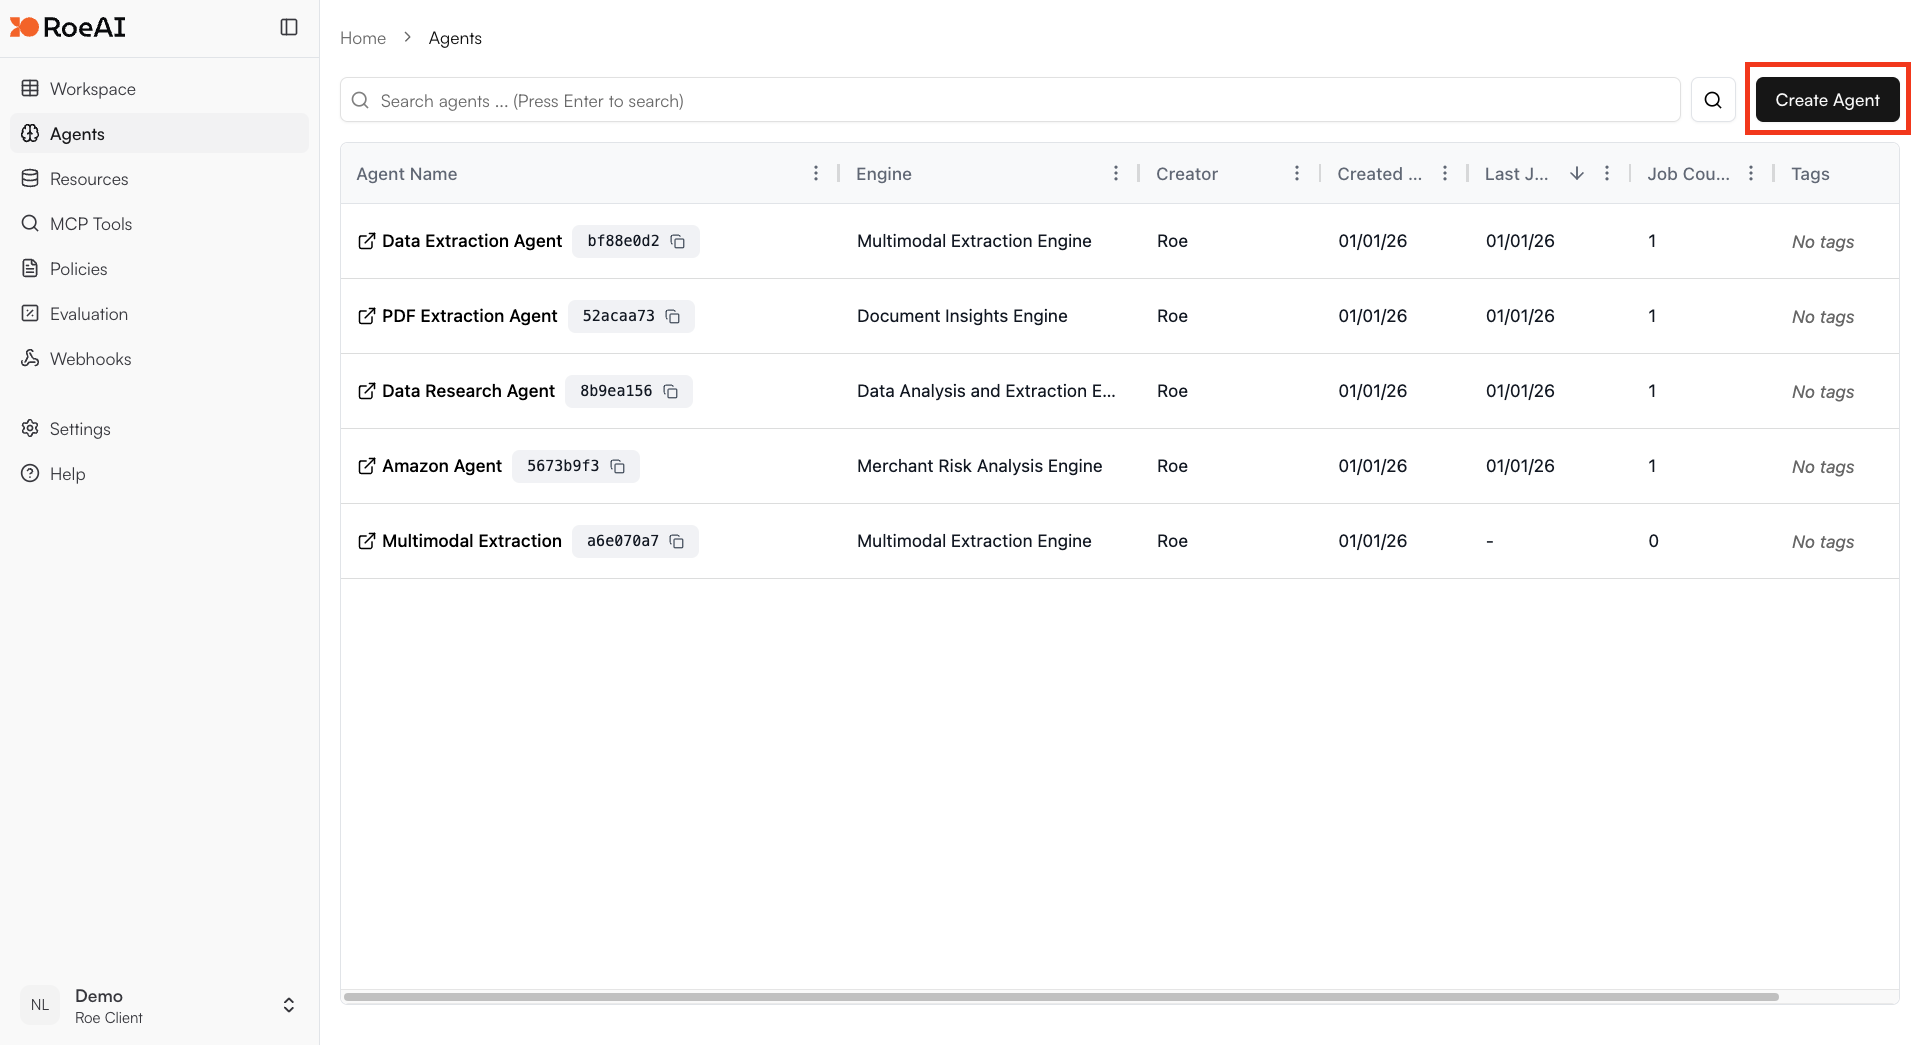
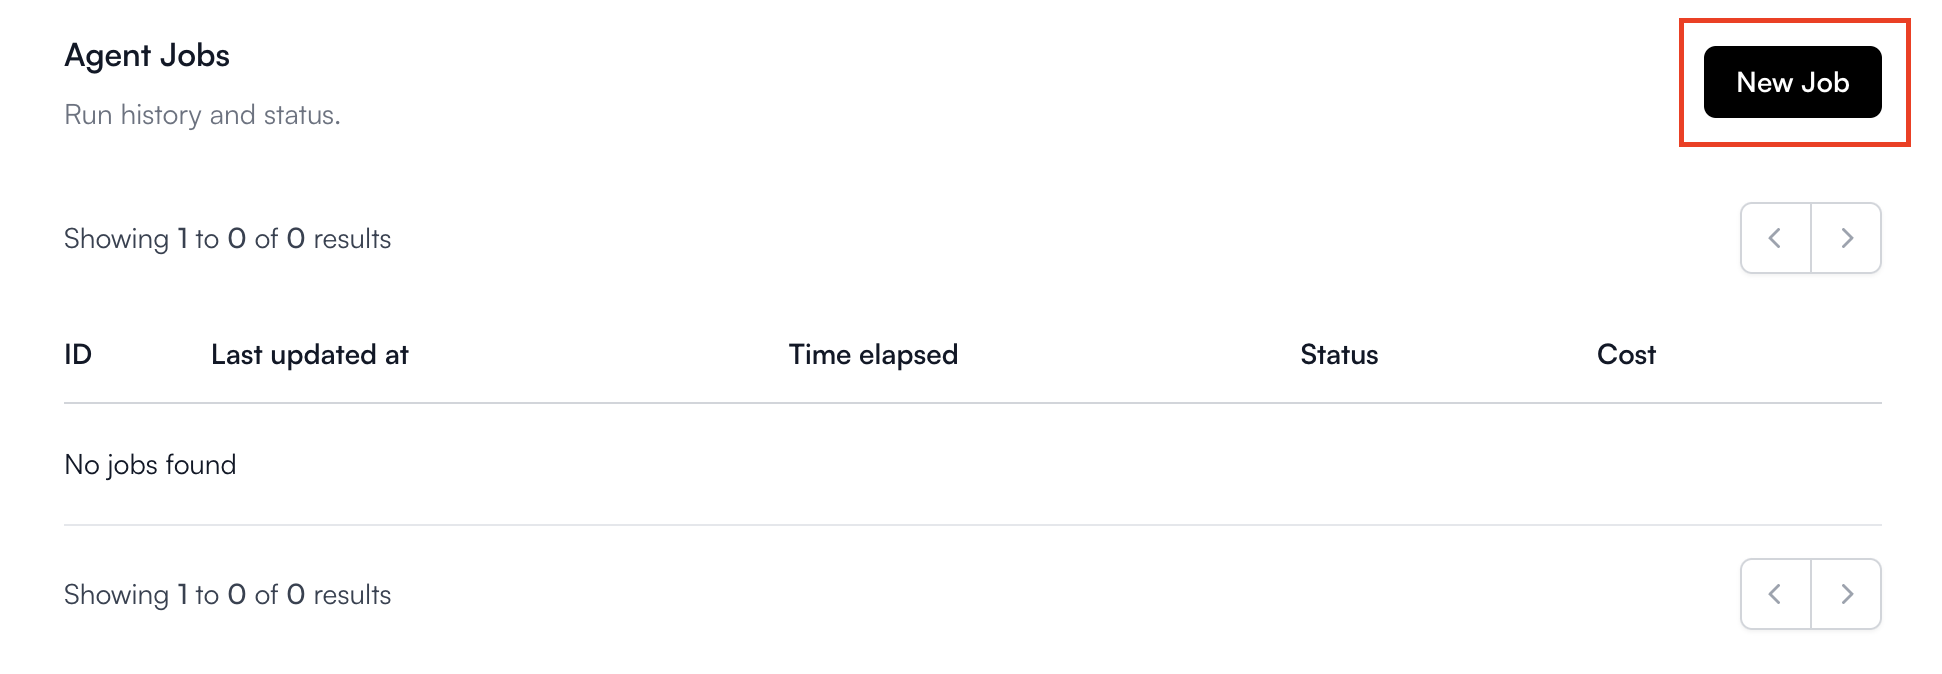
Click on the "Add Agent" button in the
top right corner of the Agents page.
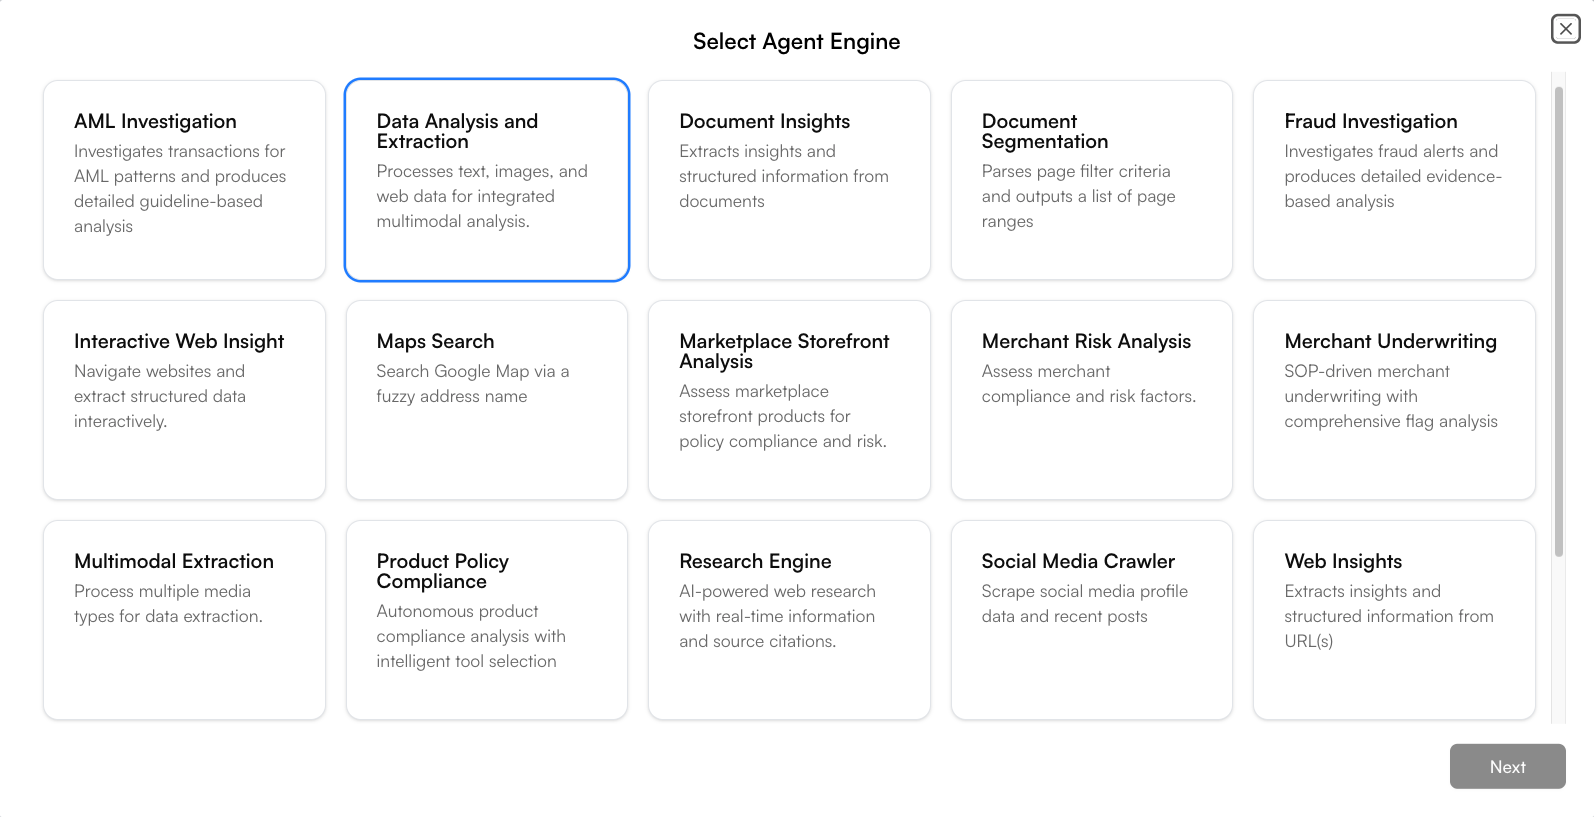
 Select the Image Extraction Engine.
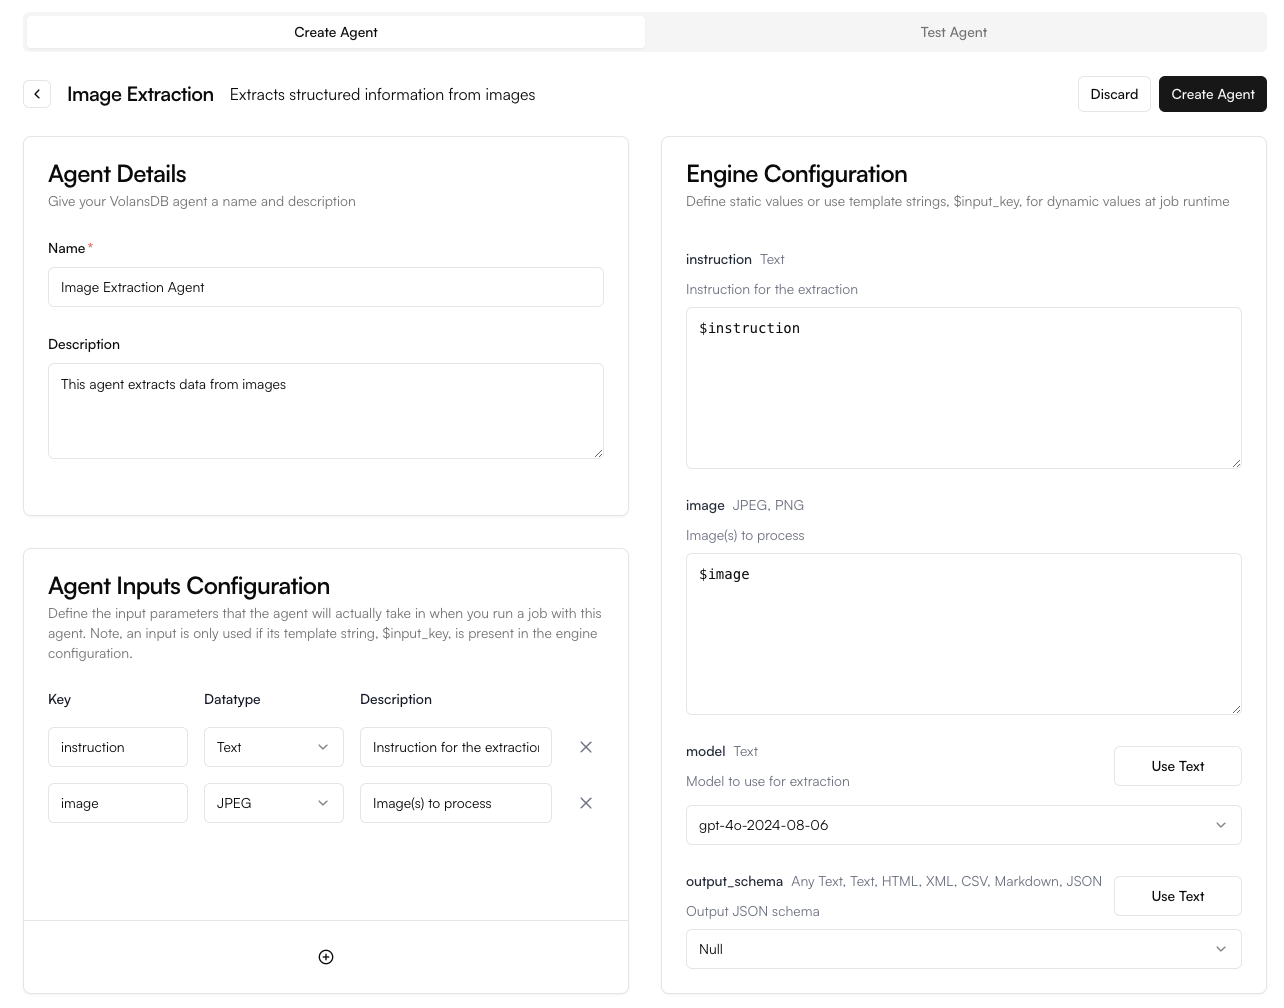
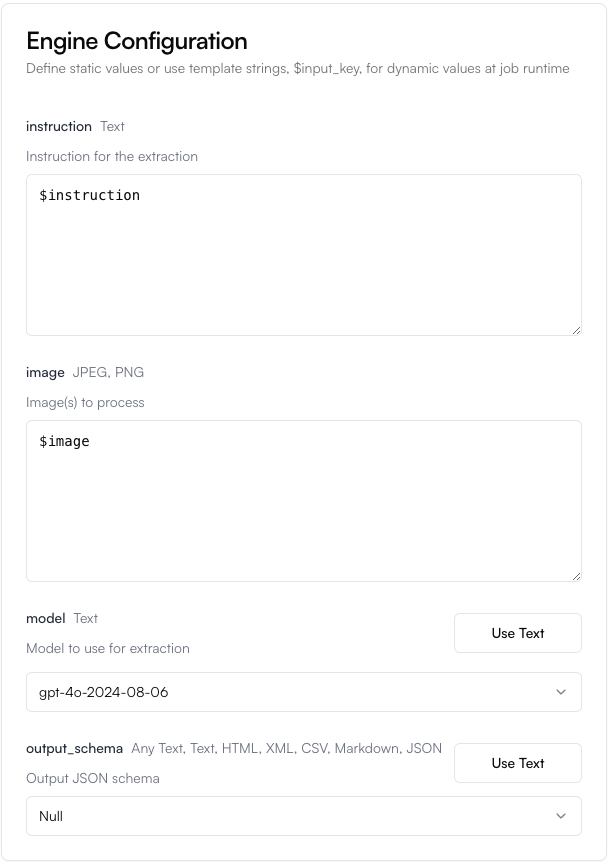
 Configure the **Agent Inputs** and **Engine Configurations**.
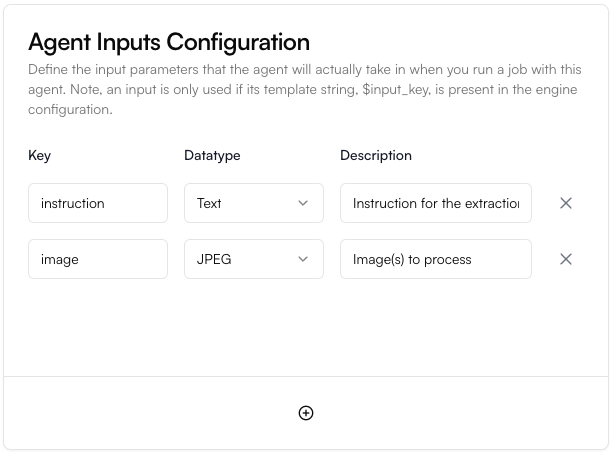
 * **Agent Input Definition**: Defines the inputs that your Agent must
accept when running a job. You can define the input key and its type as well as add or remove inputs. All defined inputs must be passed in a value when running the Agent. Learn more
about [Input Definitions](/agents/input-definition).
* **Agent Input Definition**: Defines the inputs that your Agent must
accept when running a job. You can define the input key and its type as well as add or remove inputs. All defined inputs must be passed in a value when running the Agent. Learn more
about [Input Definitions](/agents/input-definition).
 * **Engine Configuration**: Configurations specific
to your selected Engine. This sets things like which AI model or prompt instructions the Agent will use when running jobs. You can also dyanmically define the Engine configurations at runtime by using template strings of the Agent input keys. Learn more about configuring
[Engines](/agents/engines/introduction).
* **Engine Configuration**: Configurations specific
to your selected Engine. This sets things like which AI model or prompt instructions the Agent will use when running jobs. You can also dyanmically define the Engine configurations at runtime by using template strings of the Agent input keys. Learn more about configuring
[Engines](/agents/engines/introduction).
 Hit the **Create** button. Woohoo, you just built your first Agent! Now, let's run it.
## Run Your Image Extraction Agent
There are three ways to run your Agent:
* UI
* [Agent API](/api-reference/agents/run)
* [Roe SQL](/database/functions/run-agent.mdx)
We will run the agent through the UI:
Hit the **Create** button. Woohoo, you just built your first Agent! Now, let's run it.
## Run Your Image Extraction Agent
There are three ways to run your Agent:
* UI
* [Agent API](/api-reference/agents/run)
* [Roe SQL](/database/functions/run-agent.mdx)
We will run the agent through the UI:

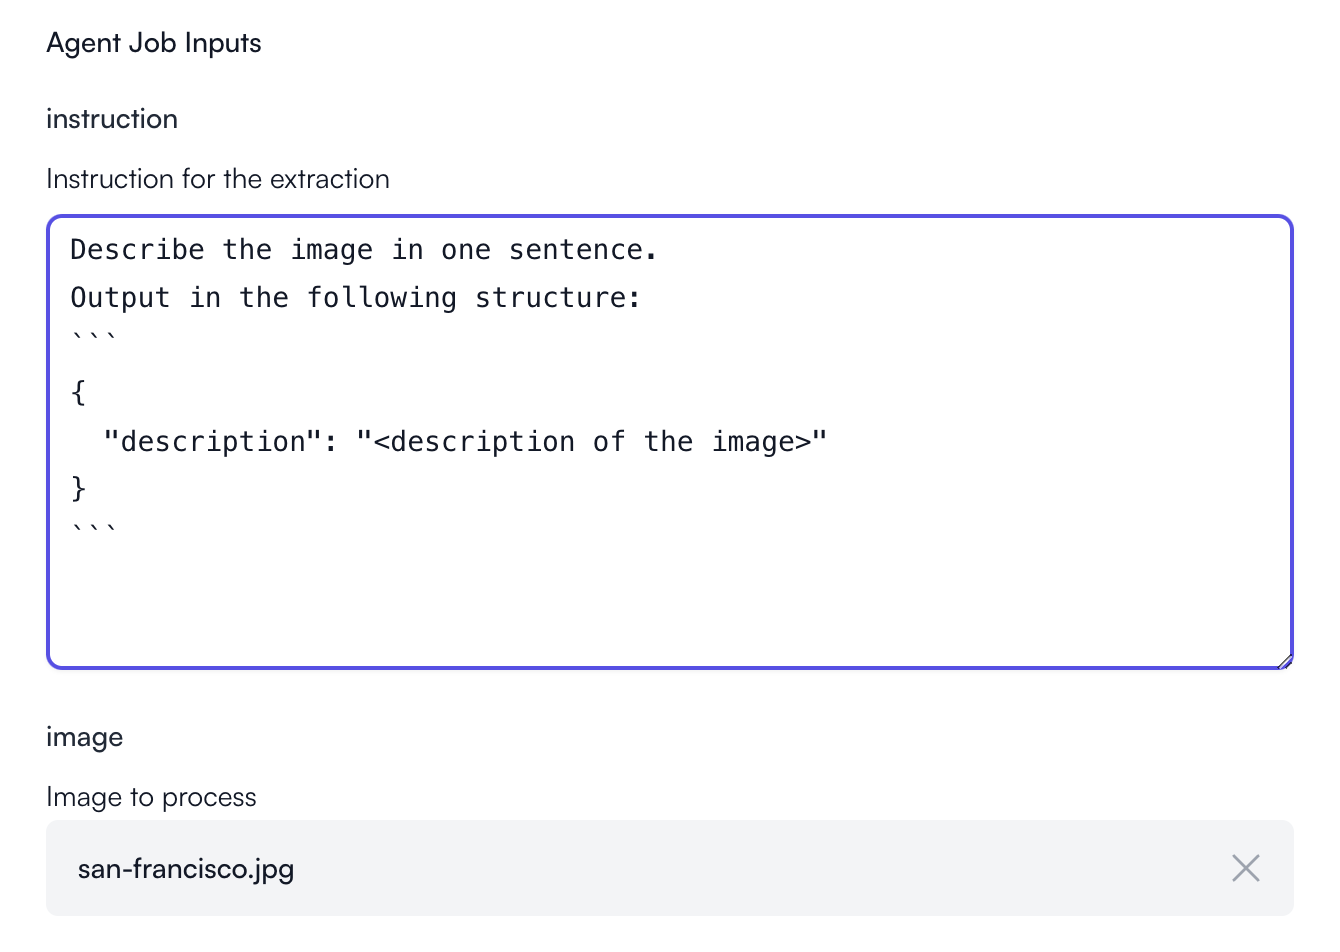
 Paste in the following text for the **instruction** input field:
````
Describe the image in one sentence.
Output in the following structure:
```
{
"description": ""
}
```
````
Then pick an image to upload to the **image** input field. You can use the one below.
Paste in the following text for the **instruction** input field:
````
Describe the image in one sentence.
Output in the following structure:
```
{
"description": ""
}
```
````
Then pick an image to upload to the **image** input field. You can use the one below.
 Here is the filled-in Agent inputs:
 Hit the **Create** button at the bottom. Hell yeah, your first Agent job has been kicked off!
## View Results
You can view the status of your Agent job in its details page.
Hit the **Create** button at the bottom. Hell yeah, your first Agent job has been kicked off!
## View Results
You can view the status of your Agent job in its details page.
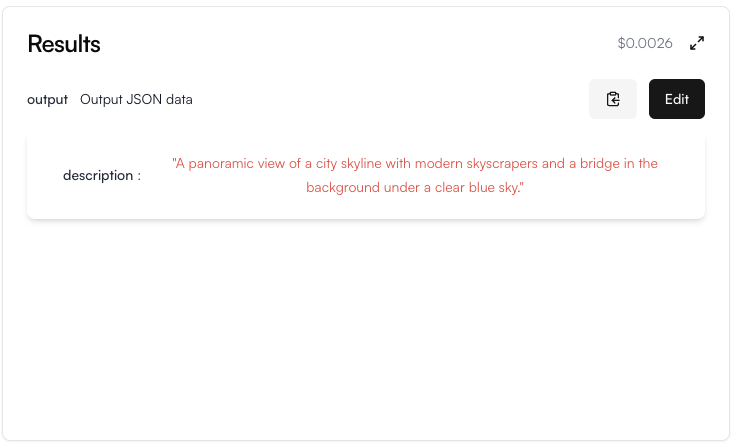
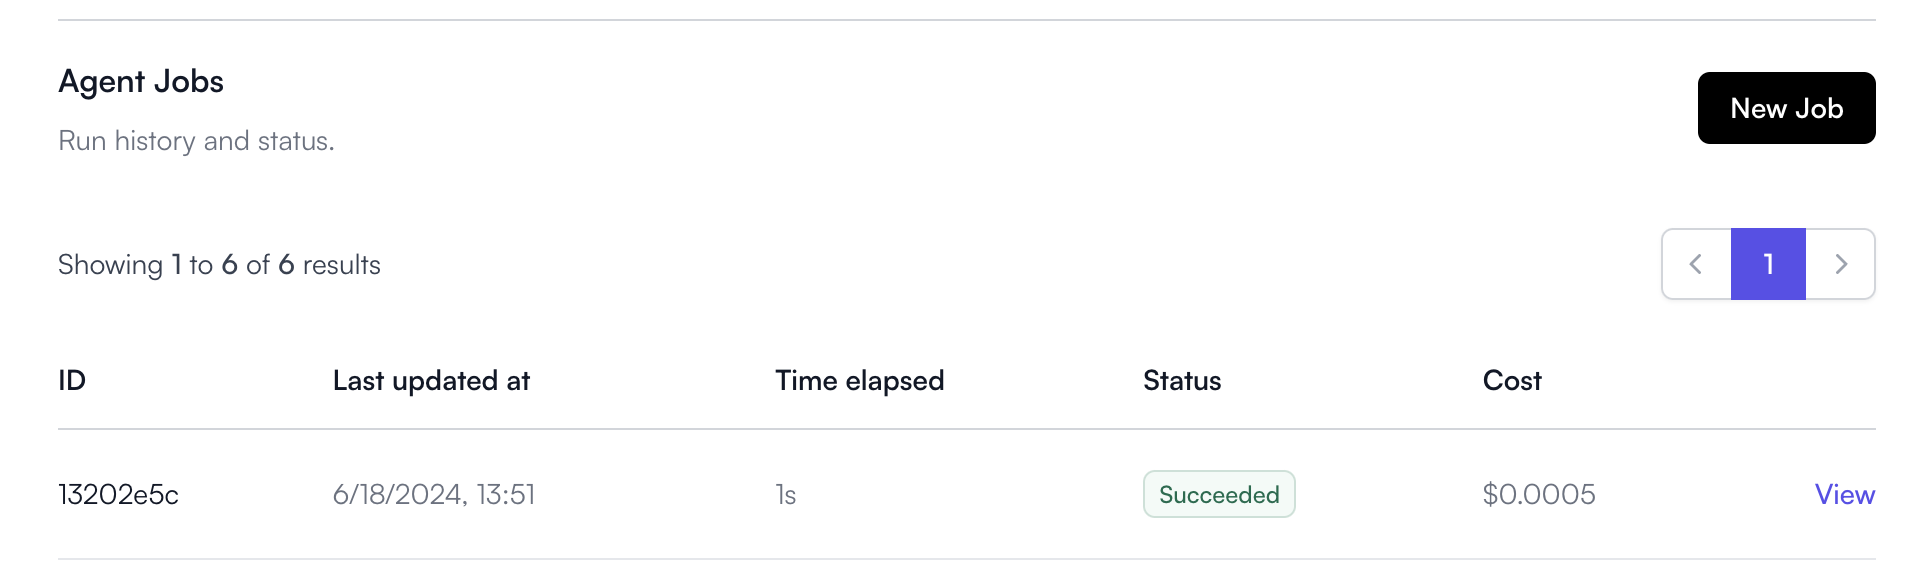 Click **view** to check the job result.
 ## Improve Your Agents' Results
* [Prompt Engineering](/agents/prompt-engineering)
* [Define Output Schema](/agents/output-schema-json)
## Improve Your Agents' Results
* [Prompt Engineering](/agents/prompt-engineering)
* [Define Output Schema](/agents/output-schema-json)